Winter Cleaning List
Giving you the tools to tackle your home for the Winter!
Starting around New Year’s is a perfect time for cleaning! Why wait for spring, when you will want to be outdoors taking advantage of nice weather? (If it is nice weather where you live!)
Now you have time on your hands. Perhaps you’ve overdone it with the Christmas movies and need a break. Maybe the cookies are all gone and it’s time to start moving again.
If you’ve been thoughtfully gifted with a lot of helpful and nice items (looking at you, cozy woolly socks), they will now need to be put away. What better time to give your new belongings a clean, organized place to land?

*Note: This post contains affiliate links, which means I may earn a small commission from any purchases made by clicking on the links.
Below is a guide for your winter home cleaning. You’ll see a variety of tasks that will help you throughout your home, so that afterwards you can encounter each room with a spirit of gratitude and comfort. Not stress and frustration.
Remember to go easy on yourself if you find you can’t get everything done. Everybody’s situation and life is different. Just do your own best and remind yourself how good you’ll feel once you’ve tackled your home.
And I do mean “tackled”.
Mentally, physically, and emotionally, carrying junk in our house means our minds become cluttered too. There’s always those worries at the back of our minds: “Am I missing a glove for this coming winter?” “Is something falling into disrepair?”
Not to mention the guilt of “I have a nice home, why don’t I keep it clean?”
This particular cleaning list is a mix of deep cleaning, maintenance, and helping extra items move on. It can be followed throughout the coming months.
If you’ve been having trouble keeping up with your daily and weekly cleaning, this New Year is a chance to clear your mind by tackling some of those items on a deeper level.
So say yes to buckling down! Yes to getting into the little-seen nooks and crannies! And most importantly, say yes to less mess!
*A printable checklist version of this is available for free, simply by subscribing to the Home For The Year mailing list!
Top to Bottom
1. Dust crown moldings and ceiling corners using a duster or microfiber cloth.
2. Wipe down crown moldings using a damp microfiber cloth. Tip: Use a spray/mist bottle to dampen the cloth, to keep it from getting too wet. Add a drop or two of dish soap to the bottle if needed.
3. Shake out or wash curtains, wipe down blinds
4. Dust chair rails and wall paneling (if applicable)
5. Dust entertainment centers, DVD holders, shelves
6. Dust each item and piece of equipment. Carefully (dry) clean around electrical cords.
7. Wipe down chair rails, picture frames, light fixtures, and fireplace surrounds with a slightly dampened microfiber cloth
8. Wipe down walls as needed
9. Wipe down banisters, railings. Add a drop of dishwashing detergent to spray bottle for stubborn areas.
10. Wipe down baseboards, especially at corners. This is such a small thing that seems unnecessary but it’s amazing the difference it makes!
Windows and Doors
1. Wipe down blinds with dampened microfiber cloth. Add a drop of dishwashing detergent to spray bottle if needed.
2. Clean windows inside and out if possible, including tracks and moldings. Tip: For the windows themselves I use good old fashioned Windex, and for the moldings a dampened microfiber using a mix of water with a few drops of dish soap. Use a mix of vinegar, water, and Dawn using a sponge to clean stubborn tracks.
3. Clean sliding glass doors inside and out, including tracks and moldings. Tip: Pull out removable plastic door stop if applicable to really get into the nooks and crannies.
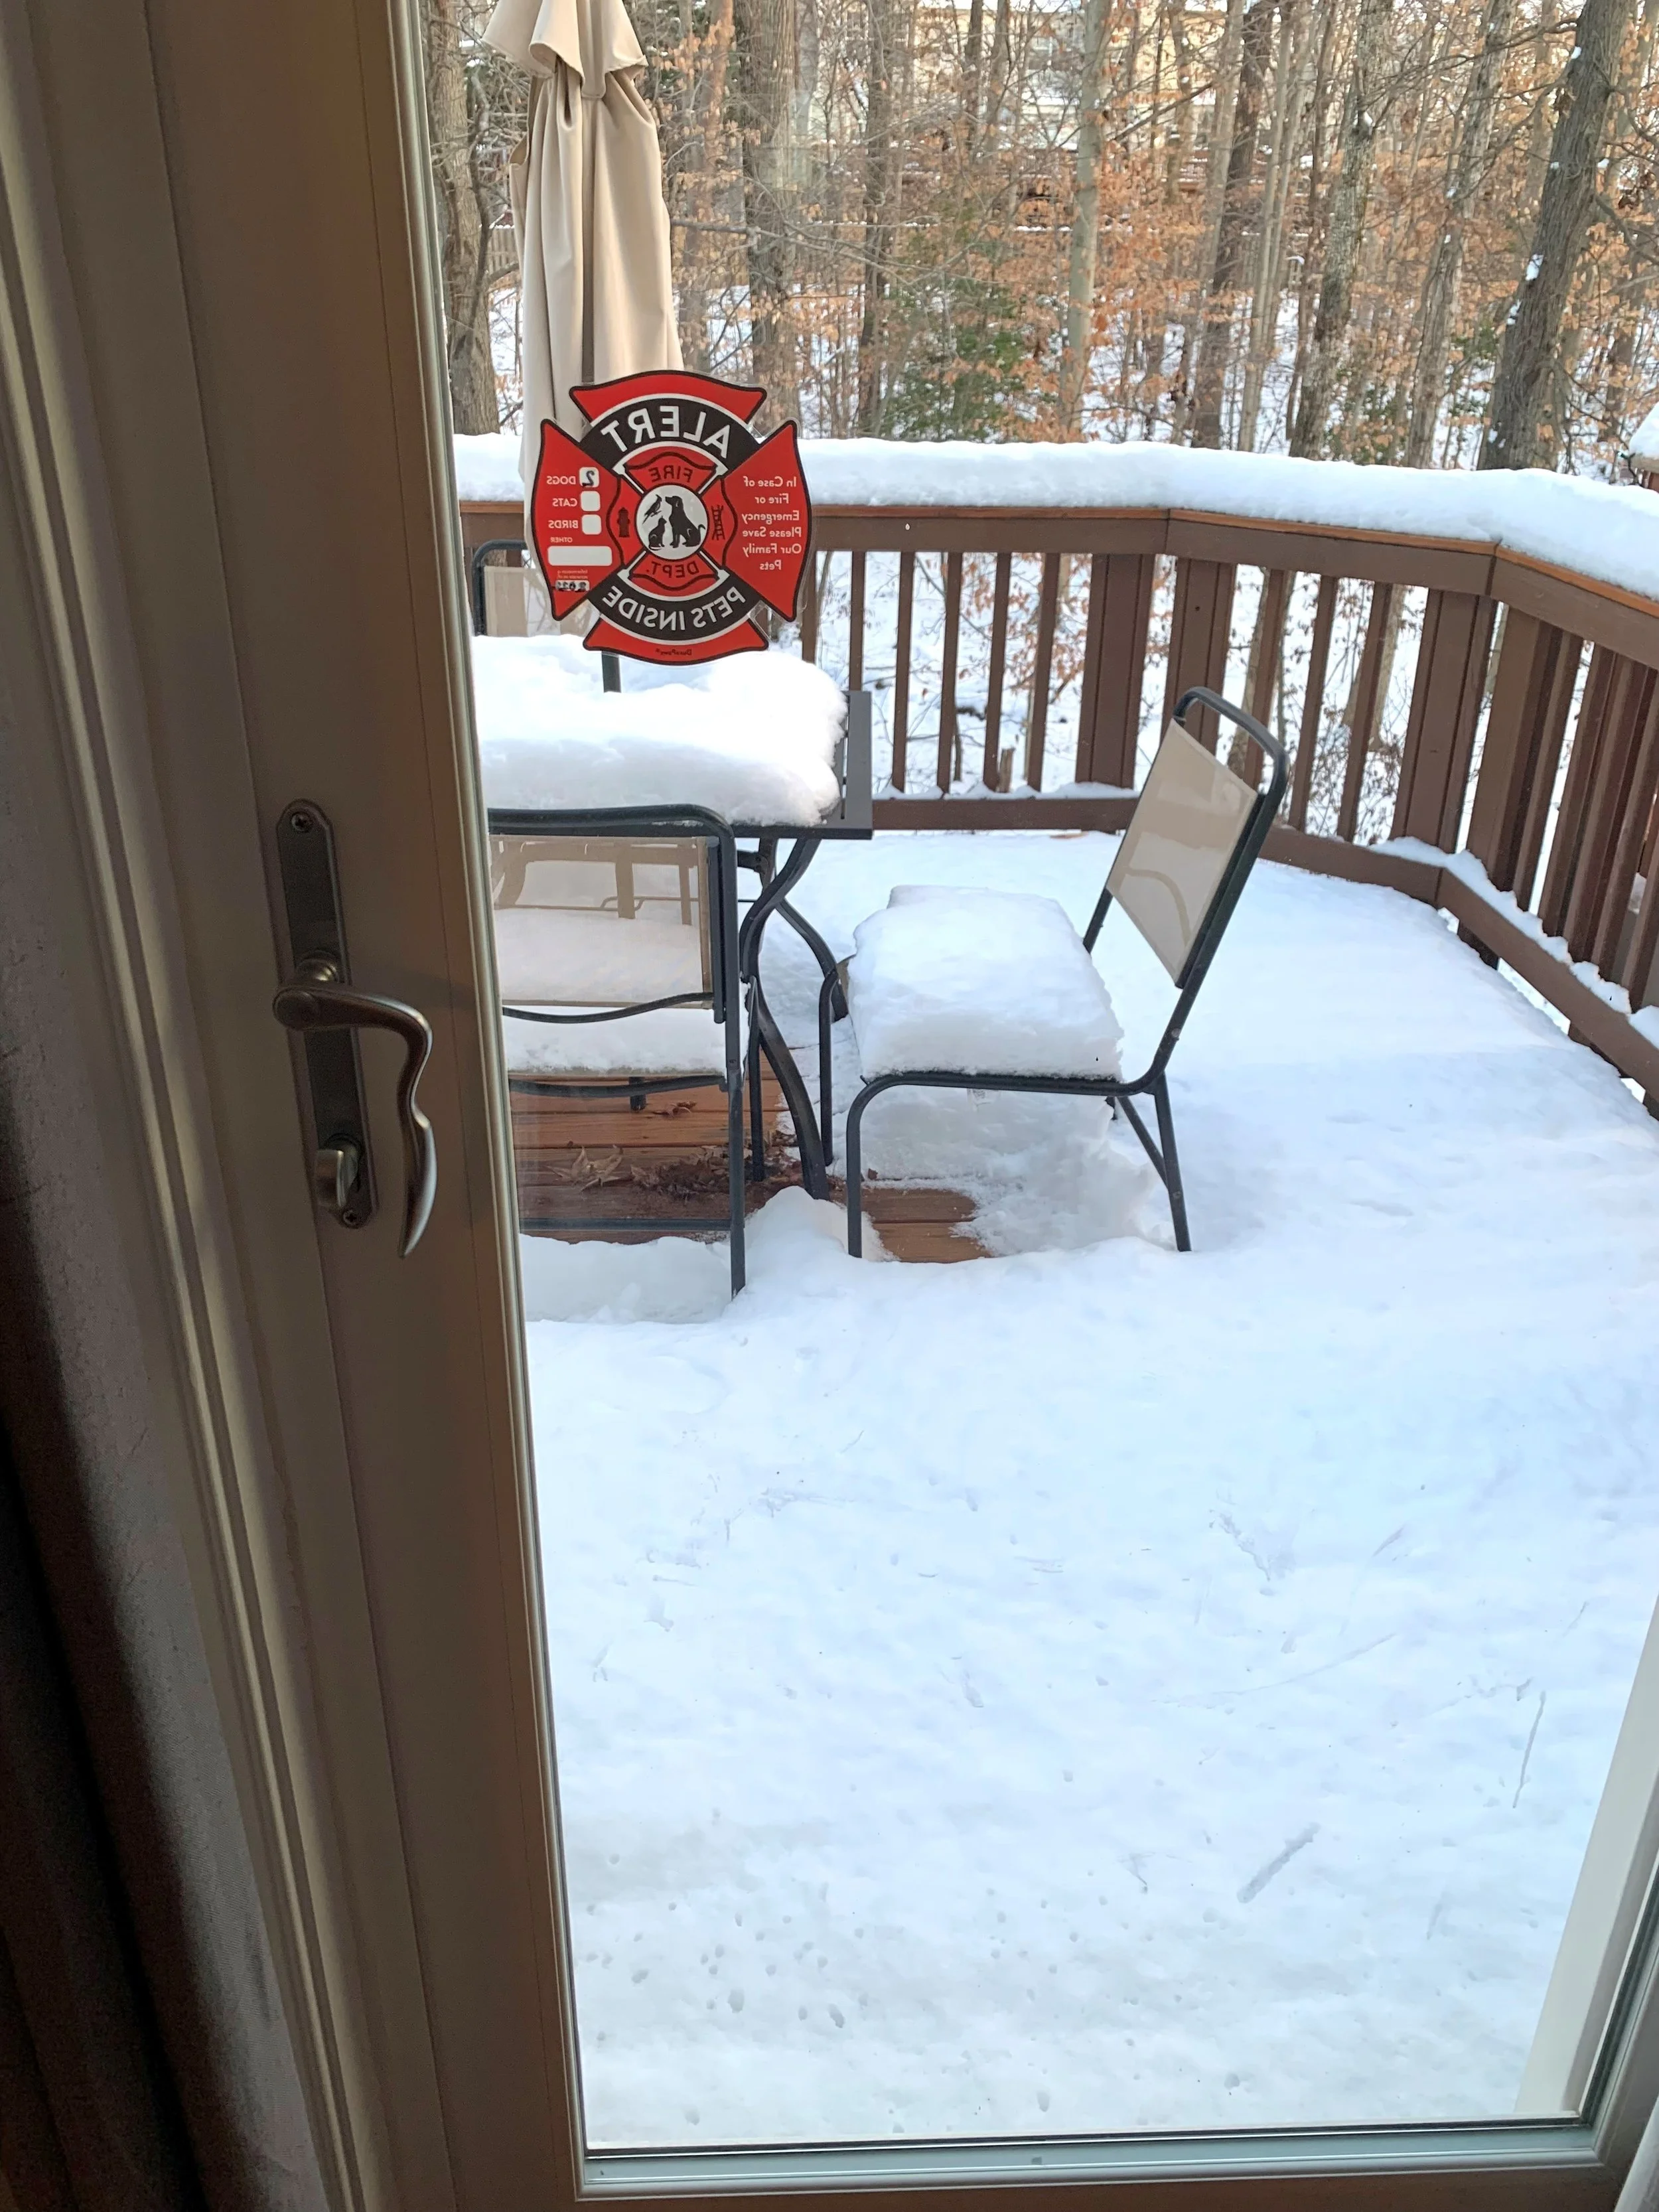
4. Update child/pet fire stickers at doors and windows.

Sitting & Walking
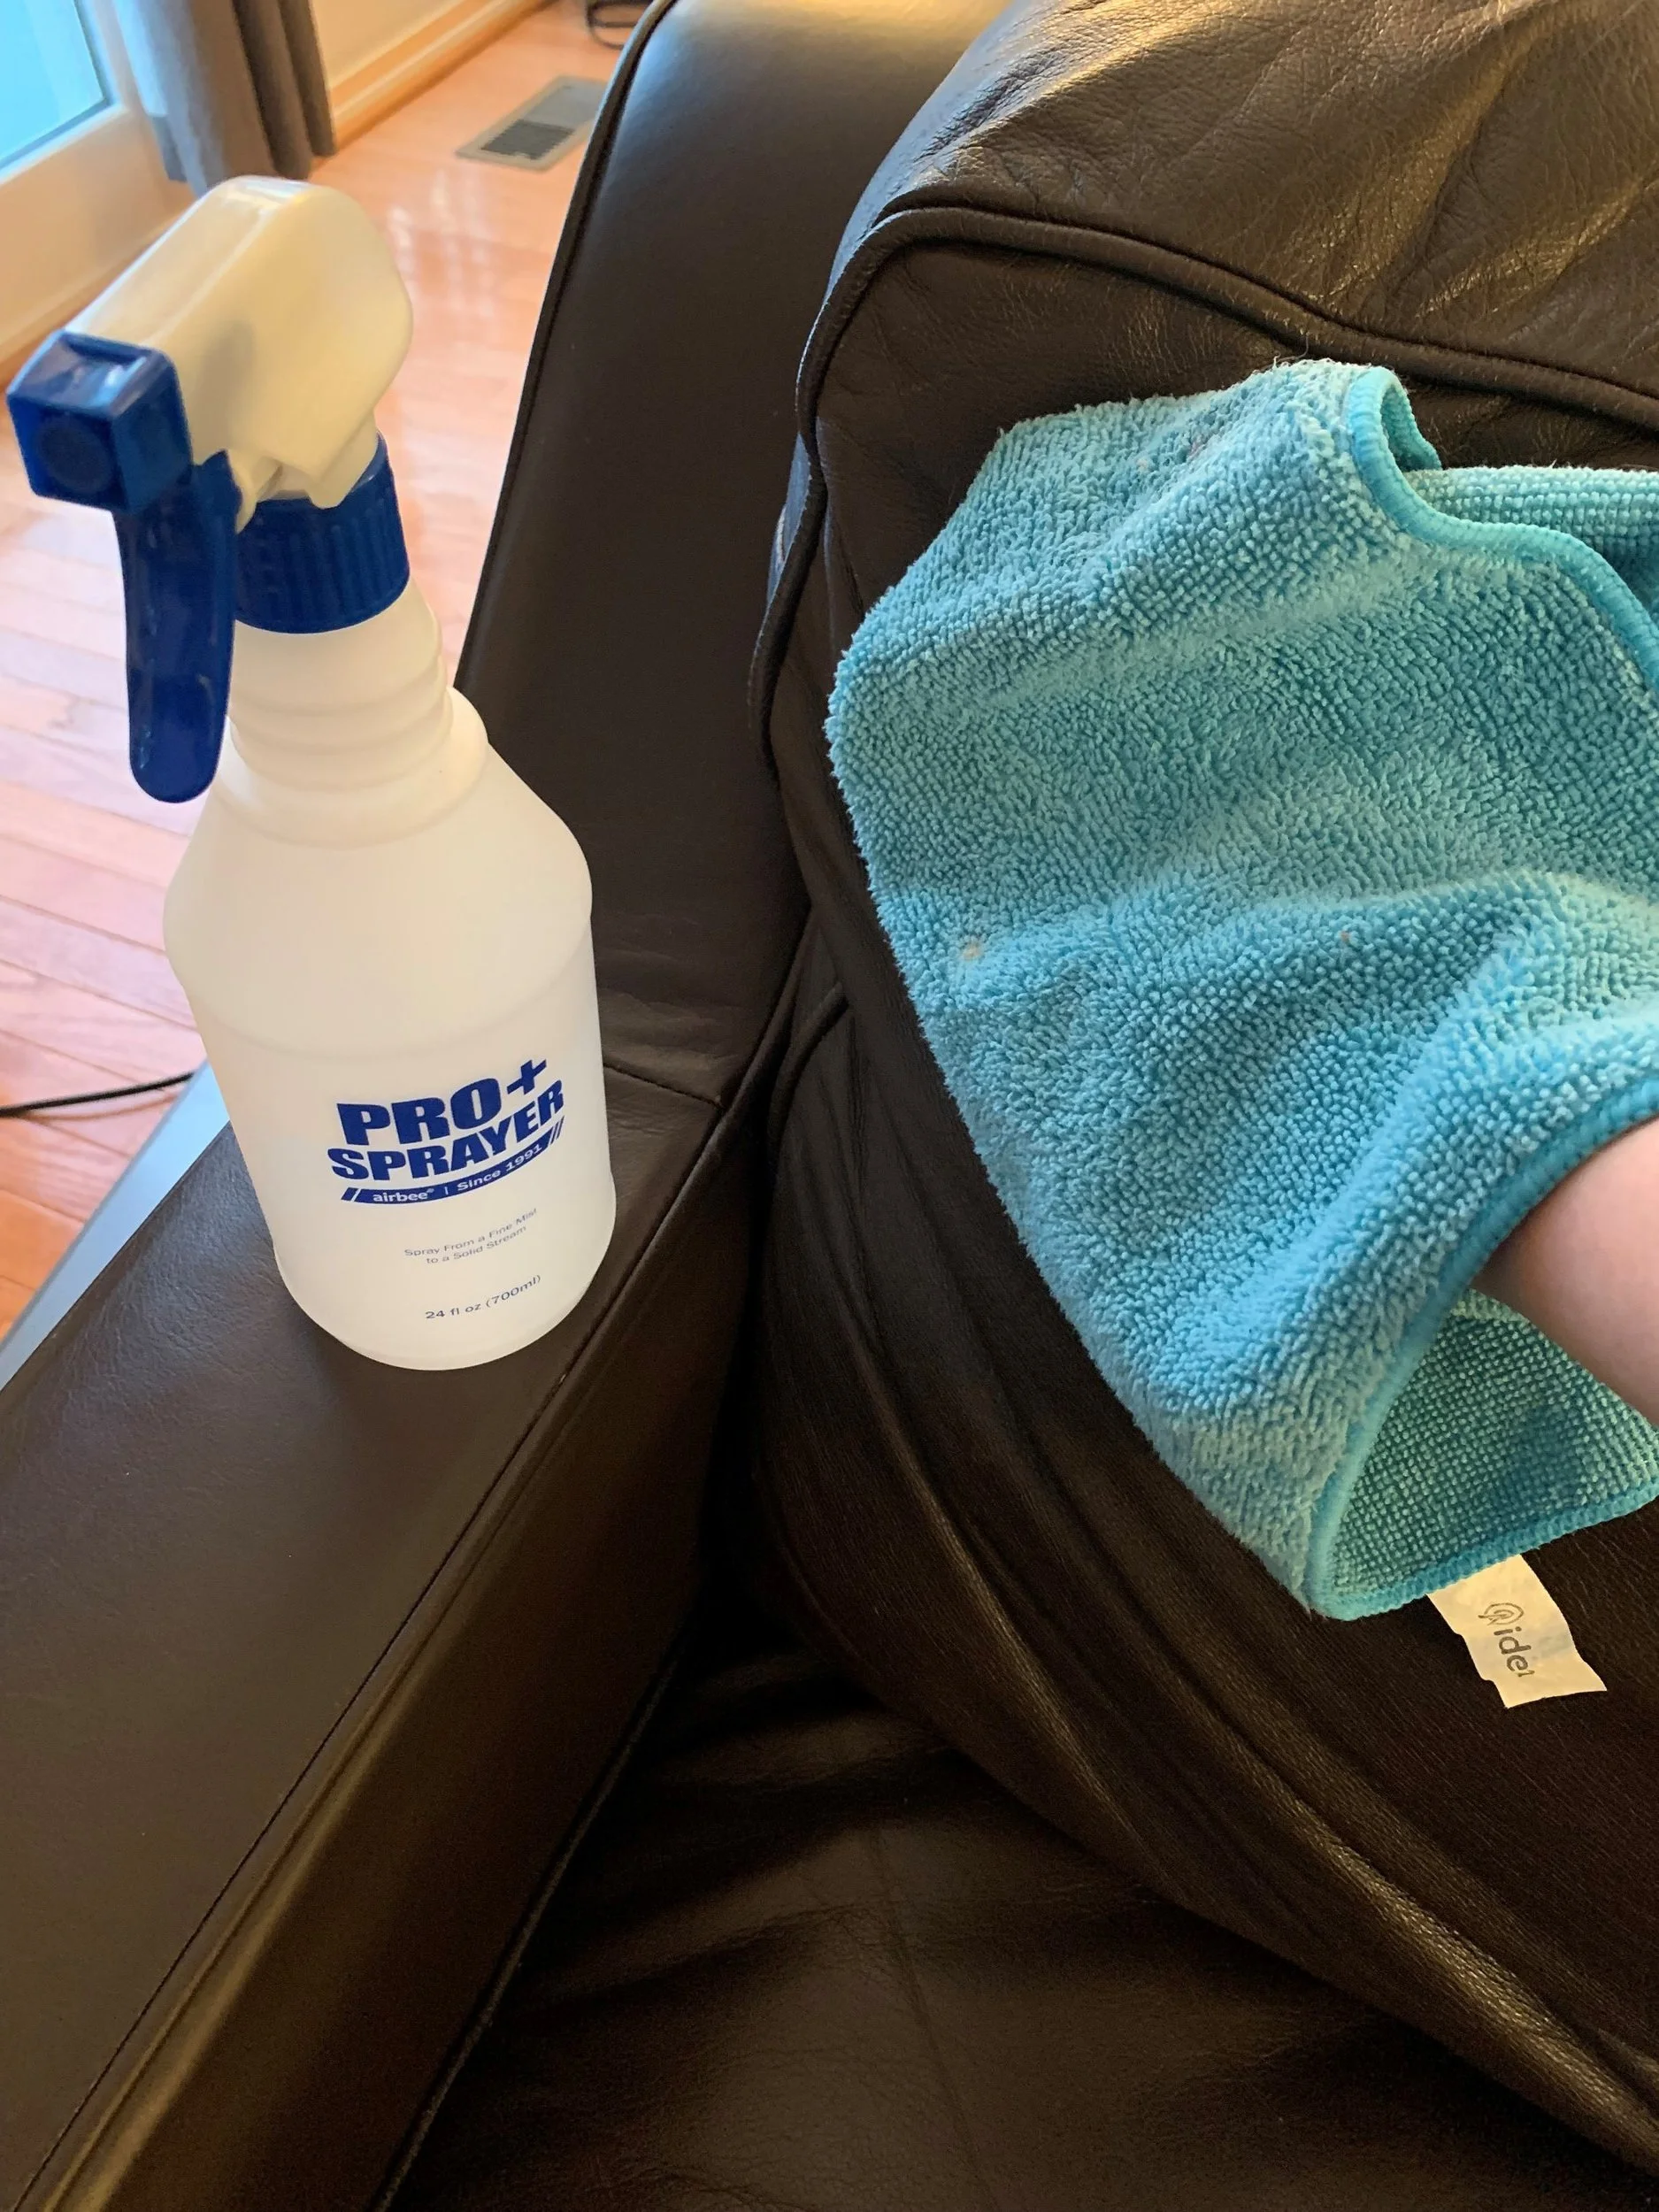
1. Vacuum couch. Tip: Leather couches can be cleaned with a light spray mixture of vinegar and water (consult your warranty or instructions first before trying this). Use leather conditioner if directed by your warranty/instructions.
2. Vacuum all furniture, using brush attachments as needed.
3. Vacuum carpeted floors. Tip: Try using 8 strokes total for each pass, going extra slowly for a few of them. This isn’t necessary to do all the time, but for a deep clean you’ll be surprised how much extra dirt you can get up. Dry mop or vacuum other floor types as required.
4. Mop floors. Tip: Surprisingly, wood floors only need mopped a few times per year. Try Bona wood floor cleaner, it's gentle and safer for pets and families.
5. Wash throw pillows & covers.
6. Wash throw blankets.
Heart of the Home
1. Go through Kitchen cabinets and de-clutter. Really count your tupperware lids. These things seem to multiply and then hide depending on the day, so just pull them all out now.
2. Wipe down counters and all appliances
3. Polish stained wood cabinets. Do your research, but I do recommend Oz Cream Polish, which is the most recent brand that I’ve used on my own cabinets. Use a very minimal amount with a soft microfiber cloth. (I’ll have another post tackling this subject in-depth later this winter!)
4. Clean oven
5. Seal granite countertops if needed. Tip: Give water about 5 minutes on your countertop: If it beads up, your seal is still intact. If it absorbs, it could be time to seal your tops.
6. Clean the water catch at refrigerator water dispenser with vinegar: soak a paper towel in vinegar and leave it overnight. In the morning, just wipe clean! (This tip comes from Amanda at This Crazy Life. No affiliation, just giving credit for a great hack! Also I love her videos.)
Making Space
1. Go through bins in basement and/or attic. Take out each item and inspect.
2. Check for signs of insects or mildew. For those who haven't already had encounters with it, mildew is really just another name for mold, and it needs to be treated with the same seriousness.
3. Decide which items to keep for now and which are ready to move on.
4. Breathe. You did it!!!